")
Sash windows, those traditional, vertically sliding frames, are integral to many homes’ architectural beauty and functionality. Over time, however, the cords that make these windows operable can wear out or break, leading to windows that stick, slip, or fail to function. Knowing how to replace these sash cords effectively can save homeowners both time and money while preserving the window’s original charm.
Essentials of Sash Windows
Sash windows are aesthetically pleasing and historically significant in many older buildings. Typically comprised of one or more movable panels, or “sashes,” these windows operate vertically (or occasionally horizontally) and are balanced by counterweights, traditionally hidden within the window frame.
The smooth operation of these windows depends mainly on the sash cords’ integrity, which are often made of braided cotton or nylon. These cords can degrade due to age, environmental factors, or mechanical wear, necessitating their replacement to ensure the window’s functionality.
Symptoms of Cord Failure
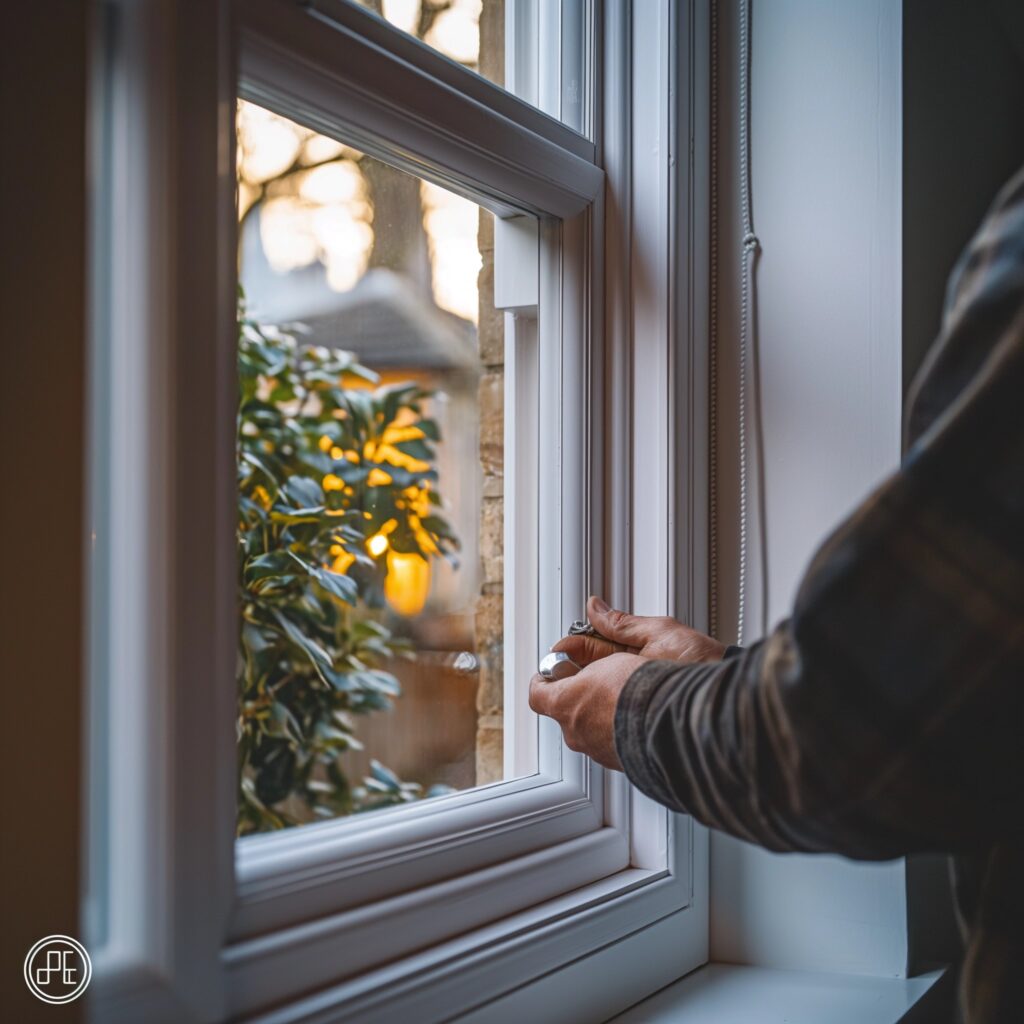
Recognising the signs of cord failure is crucial. The most obvious symptoms include a window sash that sticks, slips unexpectedly, or won’t move. In some cases, the sash might seem unusually heavy, indicating that the cord has snapped internally and the counterweight is no longer connected. These issues make the window difficult to use and pose a risk to safety if the window becomes unstable or crashes shut.
Tools and Materials Needed
Before beginning the repair, gathering the right tools and materials is essential. For this task, you will need:
- A flathead screwdriver for prying open the window frame.
- A utility knife to cut away old cords and trim new ones.
- New sash cords, which can be purchased at hardware stores or ordered online.
- Scissors for precise cutting.
- A ladder for reaching upper sash windows safely.
- Pliers for gripping and pulling the cords through tight spaces.
Safety Measures
Safety cannot be overstated when dealing with glass and window frames. First, stabilise the window to prevent any movement during the repair. This might involve temporarily securing the sash with a wedge or similar object. Protecting the glass panes from accidental impacts is important, as working around glass can inadvertently lead to breakage. Always work in a clutter-free area to avoid tripping hazards and ensure all tools are accounted for before and after the repair.
Disassembly
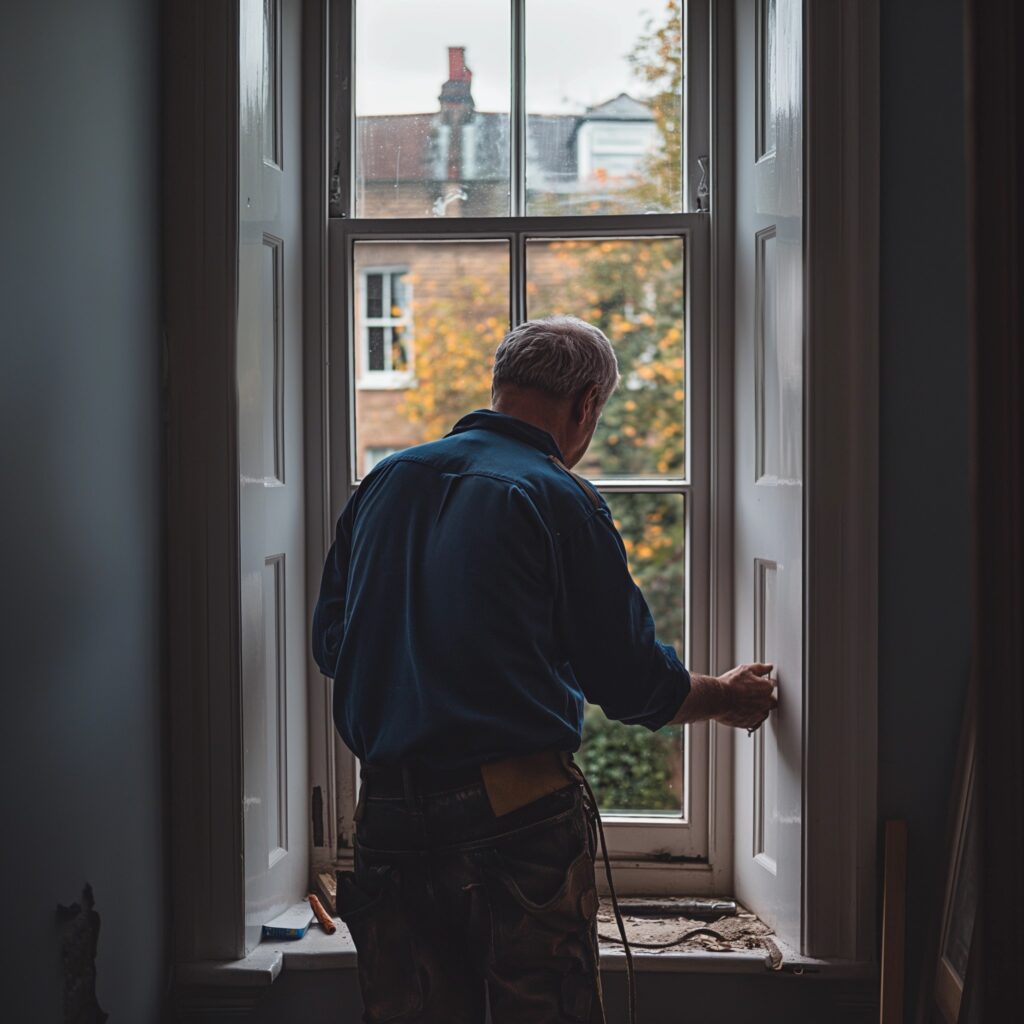
The actual process begins with the disassembly of the window. This involves carefully removing the staff beads or mouldings that hold the window in its frame. These are typically affixed with screws or nails and should be gently pried away to access the sashes. Once these components are removed, the sash can be lifted from the frame, giving you access to the damaged cords.
Inspection and Preparation
Inspect the pulley system and the area around it with the sash removed. Dust and debris commonly accumulate here, impeded by the pulley’s movement. Cleaning these areas can improve the window’s functionality once the new cords are installed. Next, measure the length of the old cord (if intact) or estimate the length needed, ensuring that the new cord is long enough to support the sash’s movement but not so long as to create slack.
Cord Replacement
Replacing the sash cords is the central task in restoring the window’s functionality. Begin by carefully removing any remnants of the old cords from the sash and the weight pockets. These are often frayed, knotted, or may have hardened over time, making them difficult to extract. Once removed, it’s time to attach the new cord.
To secure the new sash cord, tie a firm knot at one end of the cord, ensuring it is large enough not to slip through the pulley system. Feed the opposite end of the cord over the pulley and down into the weight pocket. It’s crucial to ensure the cord runs smoothly over the pulley and does not catch or kink, as this will affect the window’s operation. Attach the weight to the end of the cord inside the pocket, securing it with another strong knot. Tug gently on the cord to securely attach it, and the weight moves freely.
Reassembly and Alignment
The next step involves reassembling the window with the new cords in place. Carefully lift the sash back into the frame, ensuring it is properly aligned. This step may require a bit of adjustment to ensure that the sash sits evenly within the frame, allowing for smooth operation. Once the sash is positioned correctly, replace the staff beads or mouldings, securing them back into place.
During reassembly, it’s imperative to check that all window frame elements are secure and well-aligned. This includes ensuring the sash cords are taut and that the sash moves freely without tilting or jamming. Sometimes, slight adjustments are needed to get everything perfectly aligned. This might involve tightening or loosening the cords slightly or repositioning the sash within the frame.
Testing Functionality
After the sash has been reinstalled, testing the window’s functionality is essential. Open and close the sash several times to ensure smooth, balanced movement. Observe any areas where the sash might drag or stick and make the necessary adjustments. Testing the locking mechanism is also important to ensure the window can be securely closed and locked.
Maintenance and Prevention
Regular maintenance is key to prolonging the life of the sash cords and ensuring the window functions efficiently. This includes periodic inspections of the cords for wear and tear, lubricating the pulleys to keep them operating smoothly, and keeping the window tracks clean and debris-free. By maintaining these components, you can prevent many common issues associated with sash windows.
“Sash windows are both functional and historical elements of a property, and their upkeep is crucial. Regular maintenance of sash cords and the windows prevents costly repairs and preserves the charm and integrity of your home. To ensure smooth operation, it’s essential to check and replace worn cords and lubricate the pulleys routinely. Taking these steps can significantly extend the life of your windows and enhance your living environment,” Arthur East, Sash Windows London.
Economic Consideration
While it might seem daunting, replacing sash cords yourself can be a cost-effective alternative to professional repair. The cost of materials is typically low, and with the right tools and patience, most homeowners can undertake this task successfully. Comparing this cost to the fees charged by professionals, DIY repair can offer significant savings.
Sustainability and Longevity

Choosing high-quality, sustainable materials for sash cord replacement extends your windows’ lifespan and contributes to environmental conservation. Opting for durable materials minimises the need for frequent replacements and reduces waste, aligning with eco-friendly practices.
By understanding these steps and maintaining diligence throughout the process, homeowners can ensure that their sash windows remain both functional and beautiful. This preserves the home’s character and enhances its value and efficiency. Whether you’re a seasoned DIY enthusiast or a novice looking to tackle your first project, replacing sash cords can be a rewarding endeavour that brings a sense of accomplishment and long-term benefits to your home.
Wrapping Up
Replacing sash cords is a practical and rewarding DIY project that restores functionality to your windows and helps maintain your home’s aesthetic integrity. You can ensure a successful repair by following these detailed steps—from preparation and disassembly to installation and testing.
Regular maintenance and opting for quality materials can extend the life of your windows, enhance your home’s value, and contribute to sustainability. Whether you’re tackling this as a cost-saving measure or a way to engage with your home’s upkeep, this project can provide deep satisfaction and long-lasting results.


