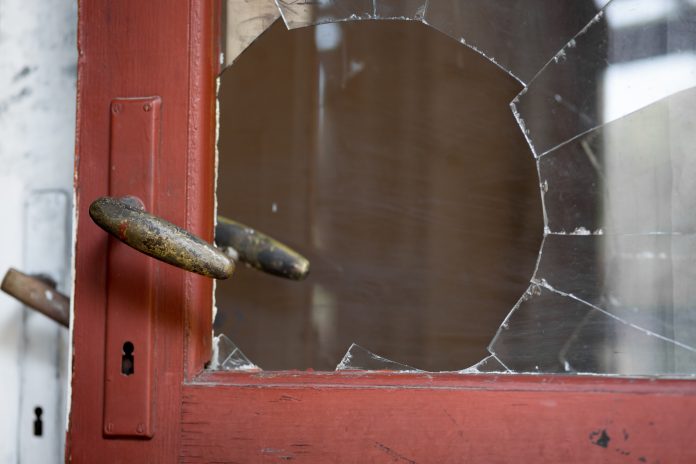
Sometime ago, we had some kids around for holiday and it was very interesting. You can imagine the excitement and frustration that accompanies managing children. Unknown to the adults around, a little cousin went to play around the back and mistakenly hit the room window with a football.
Broken windows present a number of risks. First, there is the possibility of injury- especially when kids are around. Then, they also present a security threat leading to easy entry for thieves and bandits to gain access to your home. Also, there is the financial burden of hiring professional labour to fix the window.
Having someone guide you through the repair process makes more financial sense in a time like this. Replacing the window glass yourself can be a big challenge and can lead to serious injury if not done with care. But you have no need to worry, with a few handy tools, you can easily fix your broken window without professional help.
This simple do-it-yourself guide will walk you through the process.
Step 1: Get your materials and tools
The first thing to do is to get the materials you will need for the job. If you don’t have them at home, maybe your neighbour or friend does- but there is no shame in asking. Also, it is important to wear thick work gloves against cuts because glass is involved and you will need protection from tiny glass particles. Some tools and materials you may need include:
- glazing silicone
- putty knife
- chisel
- gloves
- face mask and goggles
- measuring tape
- hand cleaner
- pliers
- measuring tape
Step 2: Get the replacement glass
Once you have decided to do it yourself, you need to measure the size (length, breadth and thickness) of the broken glass. You can then proceed to buy the glass from the store. Tell them the exact size you need and have them cut it according to your specification. Be careful when transporting the glass to prevent breakage.
Step 3: Remove the broken glass
Once you have bought a replacement, you can then proceed to remove the broken glass from the window. If possible, remove the window frame and do your work on the ground. Wearing you gloves, use a hammer to break out the remaining pieces of glass and the pliers to pull out any hanging glass shards.
Glass is usually held in place by a thick glazing silicone. This compound becomes hardened over time and it may require the use of a chisel and hammer to remove it from the window frame. Relatively new putty can be difficult to remove but you can use a heat gun to melt it and easily scrape it off.
Step 4: Fix in the replacement glass
Before placing the new glass, apply a thin layer of the glazing compound on the frame. The next thing to do is place the new exact match glass onto the frame- make sure the glass sits squarely well in place and press it slightly down to stay firm on the compound. Apply the glazing compound to the glass using the putty knife and spread evenly to complete your work and seal out the weather.
Remember to clean any smear on the window glass before the liquid dries out so that your work is kept clean. The silicone may take a couple of weeks to completely solidify so you should try as much as possible to keep away from the window for the time being in order not to undo all your good work.
Hiring professionals is a good idea, but there are home improvements that you can do on your own. Apart from the money you will save on hiring labour, there are many other reasons for doing it yourself. It gives you a feel of satisfaction and engagement. Plus it will add to the many other skills you have.
Do it yourself today, you’ll be glad that you did.


