Hardwood floors are becoming a common feature in many modern homes today. This is not only because of the beauty they add to the interior, but the ease of maintenance. More architects and interior décor experts recommend polished wood floors to give your home a sophisticated appearance.
Besides residential homes, hardwood floors also make great features for the work environment. It’s not unusual to see many contemporary designed offices with varnished hardwood floors. However, in spite of their convenience, hardwood floors are still prone to scruffs and scratches.
Did you know you can clean and refinish a scratched hardwood floor without sanding it to bare wood level? Here’s a step-by-step guide to giving your wood floor a fine finish.
- Clean the floor
Start by taking out all your furniture. Before any work is done, it is good to get all obstruction out of the way. Removing your couch and coffee table also reduces the risk of staining. Spray the floor with a hardwood floor cleaning agent. You can make one from a mixture of water and white vinegar (10 parts to 1 part respectively).
Wipe the floor carefully with a soft cloth mop or a towel wrapped around a mop head. Ensure the doors and windows are shut to prevent dust from entering the room.
- Prepare the area
Using a 180-grit sandpaper, sand the floor area, especially oblique corners that a buffer can’t reach. Scrub 5 to 6 inches out of the baseboard with the grain. Work over the whole area until the finish becomes dull and forms a powder. Avoid using a sanding block- it could miss bumpy spots on the floor.
- Scruff and sand the finish
Attach a dark-red buffing pad to the buffer and wear a dust-mask. Start the buffer and move it sideways across the floor, and in the direction of the grain. Overlap each course by 6 inches. As you work, you’ll notice the previous finish turn into powder. This gives you an idea of places you have covered. Work the buffer continuously across the floor- you can pause every few minutes to vacuum the pad.
- Vacuum and tack
After buffing, take a 10 to 15-minutea break to allow the powder to settle. Then place a clean filter into the vacuum and wipe the floor with a felt-bottom attachment. Keep to the flooring strip, and take note of the lines in between- you want to remove any powder that’s trapped inside. Use a micro-fibre cloth to dry-tack the floor.
- Cut along the edges
Protect your shoes and cover your nose and mouth with a respirator. Pour finish into a small plastic container and brush the baseboards. Watch out for lap marks if the edge of the stripe begins to dry. Move on to the next step immediately.
- Add the Poly
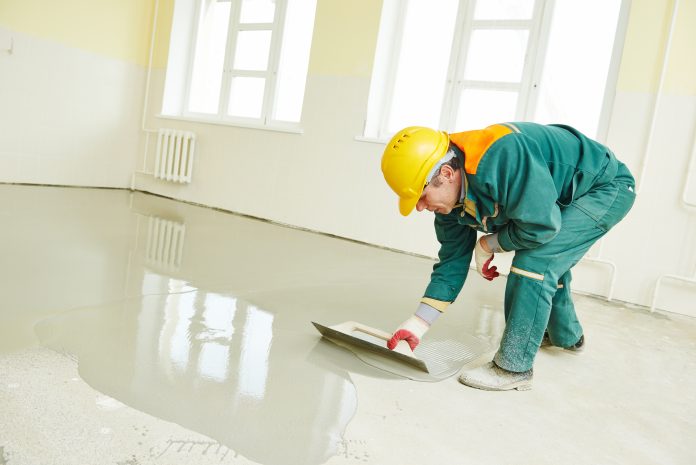
Pour an inch-wide stripe of finish along the grain line, then using a long-handled roller, roll out the finish with the grain and across it. Overlap each part and maintain a wet edge by working quickly. Pause for about 10 minutes and wipe more finish along the corners. Pour and roll again for 9 minutes. Do this repeatedly until the floor is covered.
Recoat after 3 hours and wait for a week before returning your furniture.


