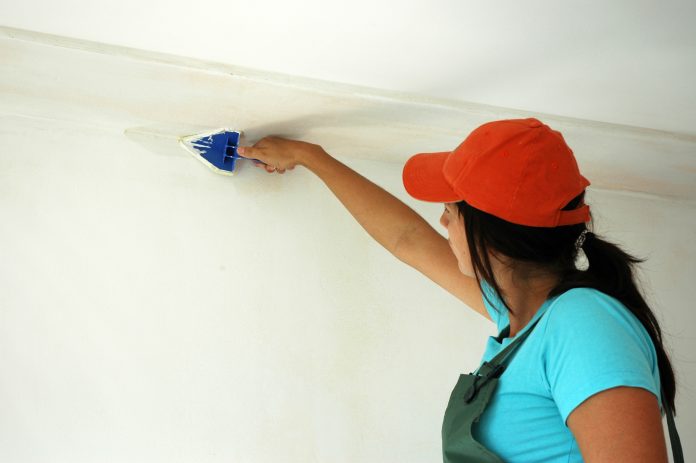
Thinking of painting your walls? Why not go unconventional and create a special effect by sponge painting? It is a painting technique that anyone can easily master. As a DIY person, you can be sure that you can hardly go wrong with this technique- especially if you are new to the world of decorative painting. You do not need any fancy tools to get it done either. With the basic painting tools and materials, as well as a natural sea sponge, you are good to go.
Getting Started
Generally, sponge painting is done by applying an overlay coat of paint (with the sponge), on a base coat. The effect that you get will depend on the colours that you choose to use for the base and sponge layers. The colours and how they appear against each other affects the overall look.
TIP: For best results, make sure that you choose colours that are well coordinated. It is usually safer to choose a colour that is one or two shades lighter or darker than the base coat, for the overlay coat.
What You Need for this Project
For your sponge painting project, your materials should include:
- Low gloss paint: This type of paint is ideal for the base coat.
- Latex paint
- Latex glaze: You need to thin out your latex paint with glaze to give the latex paint a translucent look that is soft against your base coat. Using paint straight out of the can give you a coarse finish.
You need the following tools:
- Paint roller
- Paintbrush
- Stepladder
- Bucket
- Rubber gloves
- Natural sea sponge (for best results)
- Rags
- Paint stir stick
- Cardboard
- Painters tape
STEP 1: Prepare the Wall Surface
To begin, wipe the wall to eliminate dust, and clean any stains that may affect the base coat application.
STEP2: Apply Base Coat
Use painters tape to cover doors and windows. Make sure the ceiling and floor are adequately protected as well. Then, using a paint roller, carefully apply base coat to the wall and allow to dry.
STEP3: Mix Paint with Glaze
In a bucket, mix one part of paint with four parts of glaze. After mixing with a paint stir stick, dip a damp sponge in the mixture, blot out excess on a rag and dab the sponge lightly- with the same amount of pressure on a piece of cardboard. When you decide on the colour intensity that you are comfortable with, you can now begin sponging your walls.
STEP 4: Sponge On
Begin sponging from an upper corner of the wall- working your way to the bottom. Work on small sections of the wall at a time, pressing the sponge on and off the surface. Rinse the glaze from the sponge before beginning a new section. Remember to use the same amount of paint, pressure and the same side of the sponge for consistency. You should also take care to dab corners of the wall with a paint brush or a small piece of sponge.
You can sponge on a maximum of four colours if you please- following the same technique, but wait for the previous overlay coat to dry before adding on another. Also, you should progressively space out distance between sponge paint application for best results.
Happy Painting!


