Electrical tasks around the house can seem daunting, especially if you are unfamiliar with basic electrical procedures. This how-to guide teaches you how to get basic electrical repairs and replacements done in the home. It is a do-it-yourself task and requires no prior experience.
Note: Please practice safety first and ensure that all necessary precautions are covered before you begin.
The task highlighted here is a simple replacement fixture. If your appliance goes beyond repair, for example, a breaker panel that requires rewiring or rewiring a new area of the house, please contact an electrician immediately. Even if you are quite familiar with the procedure, some jobs have codes that require a permit.
Replacing a single pole light switch
- First things first: Switch off the power.
It is always vital to start with safety precautions. Before you commence any electrical repairs, ensure that the power is off. It’s as simple as that. Without power, the repairs in this DIY post are not only possible but totally safe.
There are different ways to ensure the power is off:
- Unplug it: If you are working on an electrical appliance that can be unplugged, unplug it. For example, a lamp can easily be unplugged. Note that some appliances have capacitors that store electrical charges temporarily.
- Switch off the breaker: If your breaker is adequately labelled, turn off the breaker that supplies power to the area you’ll be working on. Look out for labels that read “kitchen lights” or “garage” and so on
- For maximum safety- turn off the main power source. If you have doubts about the right breaker and can’t test for one sufficiently, you can turn off the mains to the house.
When you are sure you have cut off power supply to the affected parts, you can proceed.
Say, your light switch may be bad or you want a more modern switch, replacing does not necessarily require a professional. After turning off the power source, the tools you’ll need are a screwdriver, a pair of pliers and some minutes.
A single pole switch
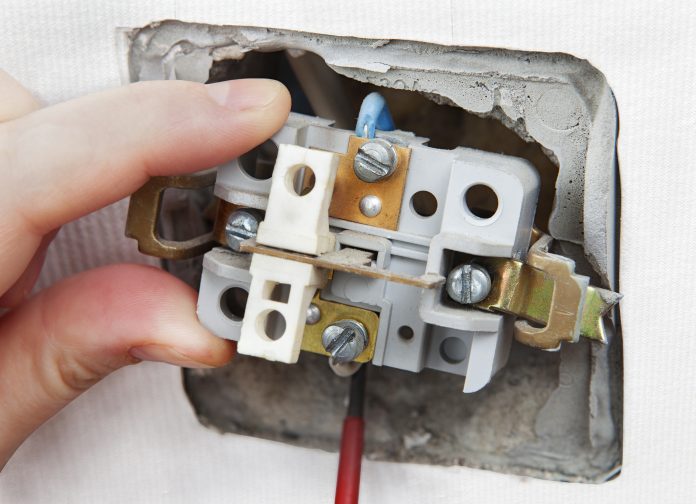
A one-pole switch regulates a one light feature such as a storeroom light, which you can switch on as you walk into the room. This is the most common type of switch you’ll find in any home. Using the screw driver, detach the outer switch. Inside, you’ll notice two screws plus the green grounding screw. There are two black wires (one ‘hot’ wire below and the other one that goes up to the light fixture)- both connect to the screws of the switch while the copper wire connects to the green grounding screw.
Take out the old switch and fix the new switch into its place. It doesn’t matter which screw the black wire is attached to- place the naked end under the screw and tighten it. Do the same for the copper wire, and voila! You have a brand-new switch.
Screw it tightly to the wall and turn on the power source to test your newly installed switch. Remember, doing domestic repairs yourself can save you a lot of money, so start practicing.


