
Installing a new tap in your kitchen or bathroom basin is as simple as 9 easy steps. In this article, we’ll walk you through changing your taps yourself.
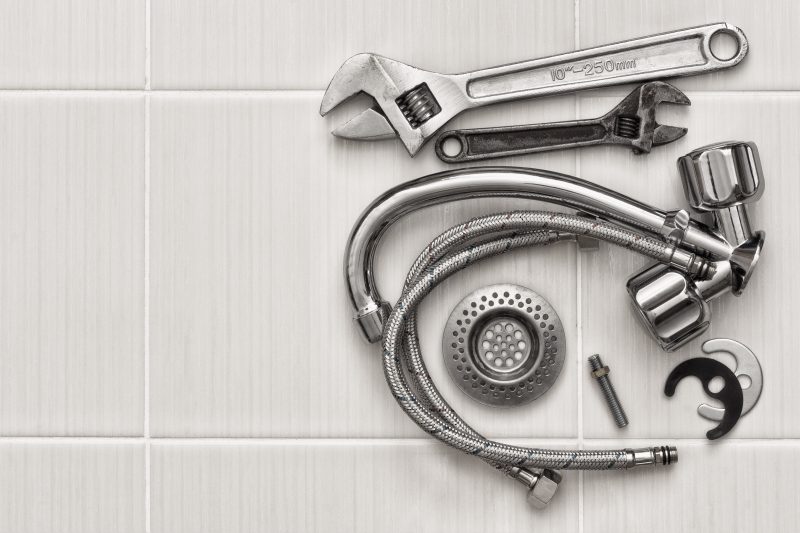
What you’ll need:
- New tap
- Flathead screwdriver
- Wrench
- Spanner
First things first:
When choosing a new tap fitting, be sure to choose one that will be stylish and functional. There is a wide array of choices available. The style (mixer, pillar, floor standing) and the finish (chrome, nickel, brass) are both important factors to consider. Make sure you explore the options available in detail – compare the tap you’d like to install with your old tap fittings. Since you’re doing this yourself, keep things simple. Choose a tap that is as close to your current setup as possible. For example, if you currently have a 3-hole mixer tap, it will be difficult to install a one spout mixer without needing to change the whole basin – which may require assistance from a plumber.
Let’s begin:
Removing the old tap:
Tip: Take a picture on your smartphone of the pipes, connections bolts and general set up under your kitchen or bathroom sink. When you connect your new tap, you can check that you’ve replaced everything correctly, exactly as it was.
Step 1 Turn off your water supply.
Before you do anything else, identify the two supply pipes to your taps. You’ll need to isolate your hot and cold water supplies safely. Under the sink, there should be an isolation valve on the cold-water supply pipe (it’s likely to be either a lever valve on an ballofix). Using a flathead screwdriver, turn it 90 degrees, so the slot is perpendicular to the pipework. Do the same for the hot water too. If your taps don’t have isolation valves, you can shut off the water supply to your property using the stop cock. (It controls the mains water supply to your property and can usually be found outside in front of your property). Alternatively, you might need to close the gate valves from the cold-water storage tank, sometimes found in the loft, where your boiler should be located.
Step 2 Next, open both hot and cold water taps for a good while. This is so that any water left in the pipes and storage tank is completely drained. Make sure the taps stay in the “open” position throughout.
Tip: Put the plug in the plug hole so you don’t lose and nuts and screws you’re going to be working with.
Step 3 Now, you’ll want to disconnect the taps from the pipes. Most taps have compression fittings holding them in place to make sure they stay attached to the pipe. To remove these, use a wrench to loosen the nut above the isolation valves.
Step 4 Next, using a tap spanner, unscrew the brass nut that holds the tap in place with the sink. (You’ll find them directly beneath the tap)
Step 5 Now remove the old taps from the sink by pulling them through the sink hole from above. Be mindful of sharp edges as you pull the old tap through, particularly if the metal is caked with limescale and dried soap scum and grease. Remember to use your bucket to catch any dripping water left in the pipes.
Step 6 Clean everything thoroughly using a damp cloth. Wipe away any grime, dirt or soap scum.
Tip: Smear a DIY paste of baking soda and lemon juice on any limescale around your sink. Leave for about 5 – 10 mins, and rinse of. Your sink will glitter like new.
Installing the new tap:
Now that you’ve removed your old tap and cleaned the sink area, you’re ready to install your new tap.
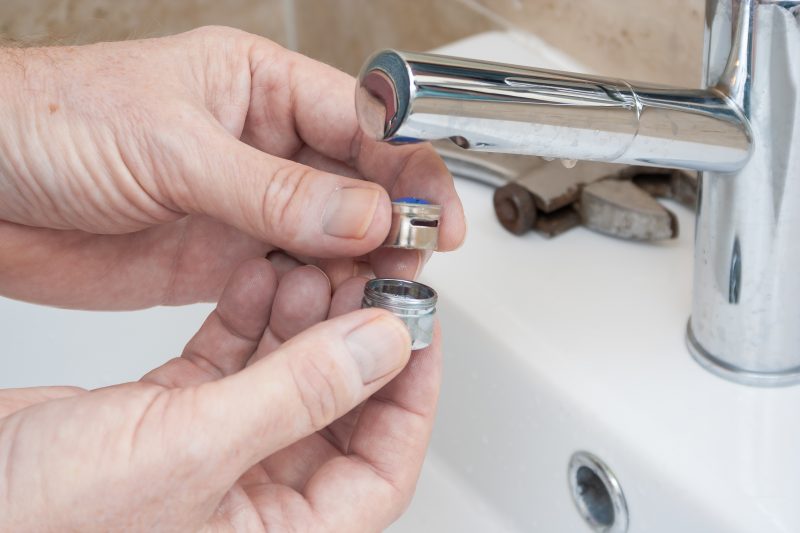
Step 7 Here comes the easy part. While some parts will need to be fitted, taps usually come out of the box part assembled so you can simply follow the instructions that come with the particular brand you’ve purchased.
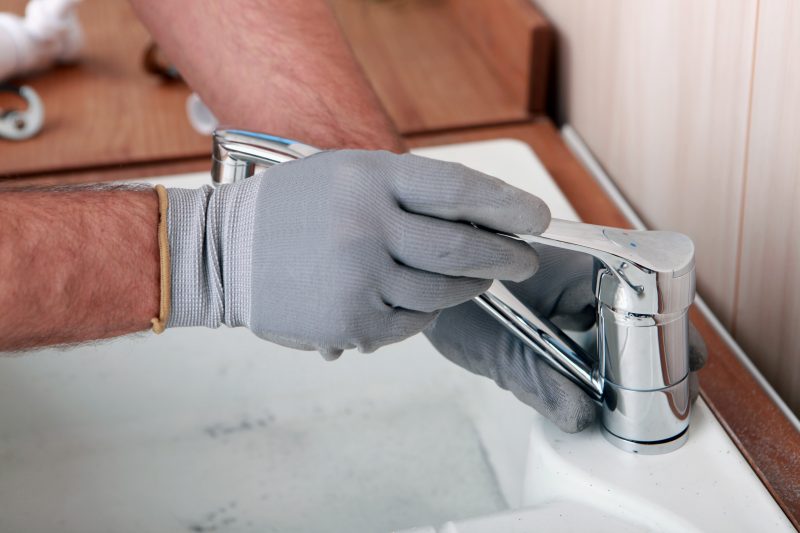
Step 8 To connect the new tap to your plumbing system, place the new taps into the tap hole(s). Making sure you seal any holes between the tap and the sink with the washers and o=rings provided. Conventions in the UK are that the hot water tap goes on the left-hand side of the sink, and the cold-water tap goes on the right. Make sure your taps are the correct way around before you secure the fittings, or else you’ll be leaving guests an interesting surprise when they turn the taps on! Secure the tap under the sink using all the relevant nuts, olives and PTFE. Connect the hot and cold pipes using your wrenches, making sure to reconnect everything exactly as you found it.
Step 9 Check your connections are tight and turn the water supply back on. Start with the cold water and only open the isolation valve part way to check for any leaks. If you do find a leak, identify where it’s coming from. Normally, you just need to give the joint a tweak. Open the valves again, fully this time. Run both hot and cold-water taps, check under the sink again for leaks.
That’s it! You’re done. Enjoy your new tap.
This article was written by WPJ Heating, plumbing and heating experts based in London.


